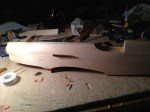
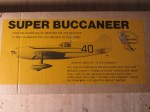
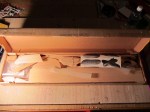
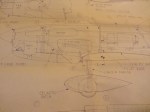
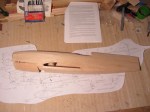
After completing my aircraft for my grandfather, I wasn’t sure what to build next. Well, here’s what I decided to build. The Super Buccaneer Racer, a model based off of the old air racers in the 30’s and 40’s. Here’s a few pictures of the progress (click on the photos for larger pics):


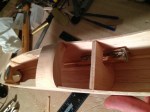
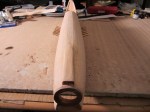
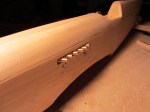
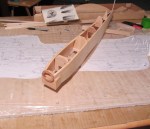
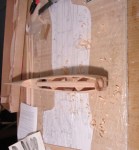
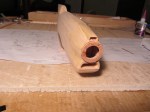
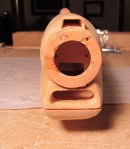
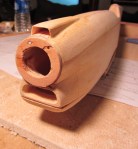
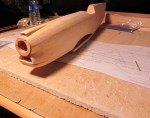
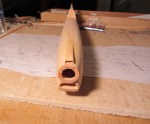
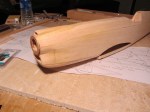
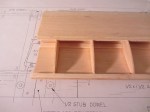
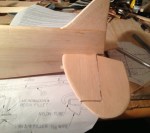
Here’s a few recent pictures of the progress on the Super Buccaneer. I’ve carved and sanded down the fuselage and scratch-built a cowl for the air intake. I used a die grinder to hollow out the cooling intake for the engine. Since i am trying to squeeze in a Saito 30 four-stroke, the air intake on the top will funnel down and behind the engine directly into the carburetor. I hope you enjoy the new pictures! if you have any comments or questions I would love to hear them.
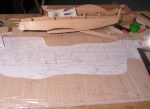


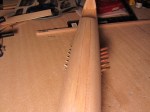
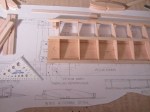
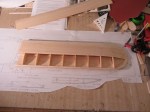
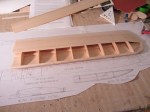
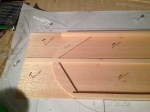
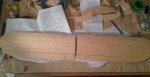
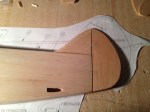
Finally starting to layout and build the wings. Its not too tough, but taking your time here can result in some nice looking and square wings. These are completely wrapped in sheets of balsa for strength and in the end will be coated with fiberglass and epoxy.
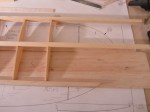


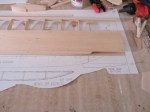

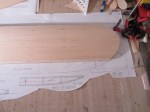


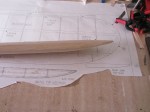

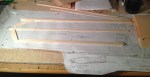
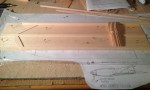
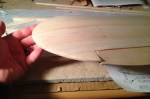
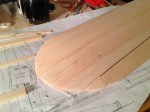
Here’s a Few more pictures of the Wing build up. I finished the right side and started to lay out the left. Again, Take your time when gluing the pieces together. Accuracy is definitely more important than speed. This is also demonstrated when trimming the leading edge. i will need to go back with some putty on a small section. The Exacto knife got away from me and took a little too much off in one spot. By the end, the wings are done and ready for final trimming and aligning. Due to the fact that I am coating this in fiberglass and Epoxy, I will be shaping and aligning the control surfaces on their own. The wings are about ready to join. From there I need to shape and install a servo tray for the ailerons and install the landing gear blocks. (click the pictures for a larger gallery)


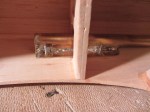
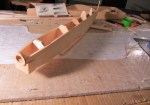
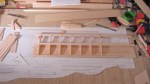
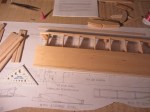
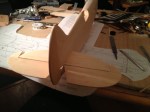
Started forming the tail sections. This consists of some pretty easy assembly and sanding. The shaping isn’t too big of a deal if you keep everything the same side to side. the leading edge of the elevator and rudder need to be beveled to a good air foil, but with a good sanding stick it goes pretty quickly. The most important thing in this step is getting the rudder leading piece straight on the fuselage. Take your time with this if you ever build an aircraft. The rudder being square is really important. Here’s some more photos! (click on the pictures for a larger gallery!)


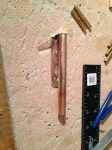
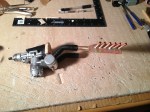
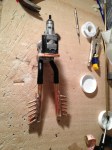
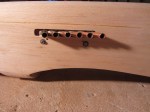
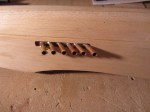
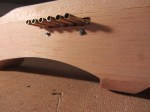
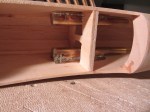
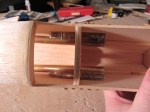
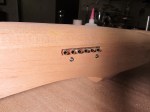
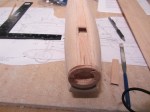
Its time to start fitting the engine and the exhaust. For a little flare I chose the K&B .21 with rear exhaust. Later in the build log I’ll show you the entire exhaust system I am devising. This engine will give me a lot of power, but will also not have the big bulbous muffler sticking out the side. The muffler that was supplied was designed to exit out of both sides as a sort of dual exhaust, and it would have looked good, but I have something better planned. In order for the exhaust to exit where I intend, I cut down an original muffler and shortened it quite a bit(see pic of the two mufflers side by side). This makes it possible to route the exhaust system inside the skinny fuselage. Here’s a few pictures of where I’m at. I’ll put up some pictures of the rest of the exhaust idea next. Click on the photos for a larger view gallery.


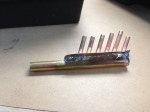
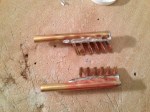
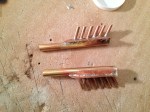
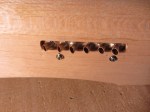
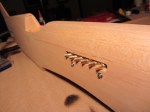
Here’s the next step of the custom exhaust. I am really not a fan of the stock muffler choices in the industry so I figured I’d make it a bit more interesting. As stated in the previous section, I cut down the muffler to fit inside the fuselage. This way I could basically make the exhaust exit wherever I wanted. I devised a plan to have it exit on both sides looking like shorty header exhaust. I took some brass and soldered up two opposing manifolds and made two cutouts in the fuselage for the exits. Since the engine sits upside down in the fuselage, the muffler will be attached to the exhaust manifolds via two high temp flexible connectors. The exhaust will be pumped out both sides for functional exhaust. My soldering skills are amateur at best, but I’m getting better! When the fuselage is all fiber-glassed in, I’ll square up the runners to be perfectly uniform in size and angle. Take a look at the progress so far! (click on the pictures for a larger gallery)